Click here to see the video version of this review
When I first began to collect MASTERVERSE figures, this one was…around. I saw Whiplash, but was determined to save my money for Masters of the Universe Mega Blocks. Well…we all know how this turned out. The MEGA went away. And one fateful day at Target, I picked up 40 anniversary He-Man and became sort of ravenous for MASTERVERSE figures. I started cherry picking the ones I wanted, of course. No Sun Man…no Netflix CGI figures. None of those. I wanted to recollect my childhood figures.
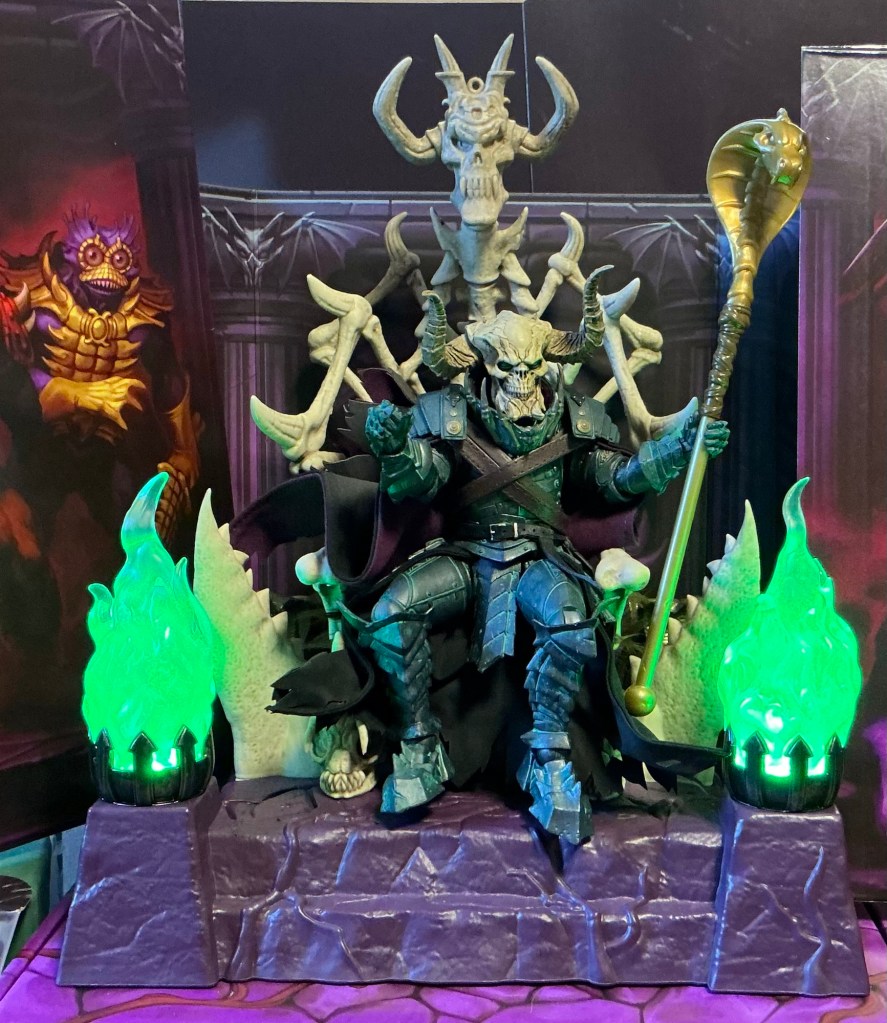
There weren’t that many of them out there, though. And suddenly I remembered passing up on all of those times I saw Whiplash at Walmart or wherever. So I went to order it online, only to have my order canceled. Ultimately looking at pictures on the internet, etc. he looked really scrawny. And they always show him with a horned helmet and holding a torch…kind of wacky. Then I saw the Cosmic Legions SSKURGGE at the Toy Federation in Greer, and decided this was a better Whiplash figure. I thought I might find a better head somewhere or even have a custom made. (All of the people I contacted about making a custom for this declined, not wanting to work in the Ogre scale.)
But here we are. At the apparent end of MASTERVERSE in the wake of the upcoming Masters of the Universe The Movie. And at the SCMEA (South Carolina Music Educators Conference) that happens in Columbia, SC, I visited LT Toys and Games where they had this on the shelf. I might have seen this sometime in the past three years before, but this time I got it along with GI Joe Classified Series Beach Head. (I ALSO saw Combiner Wars Thundercracker but passed on that…more to come!)
(Both links above refer to Todd Venture videos)
After having the figure in hand, do I have better feelings about it?
PACKAGING
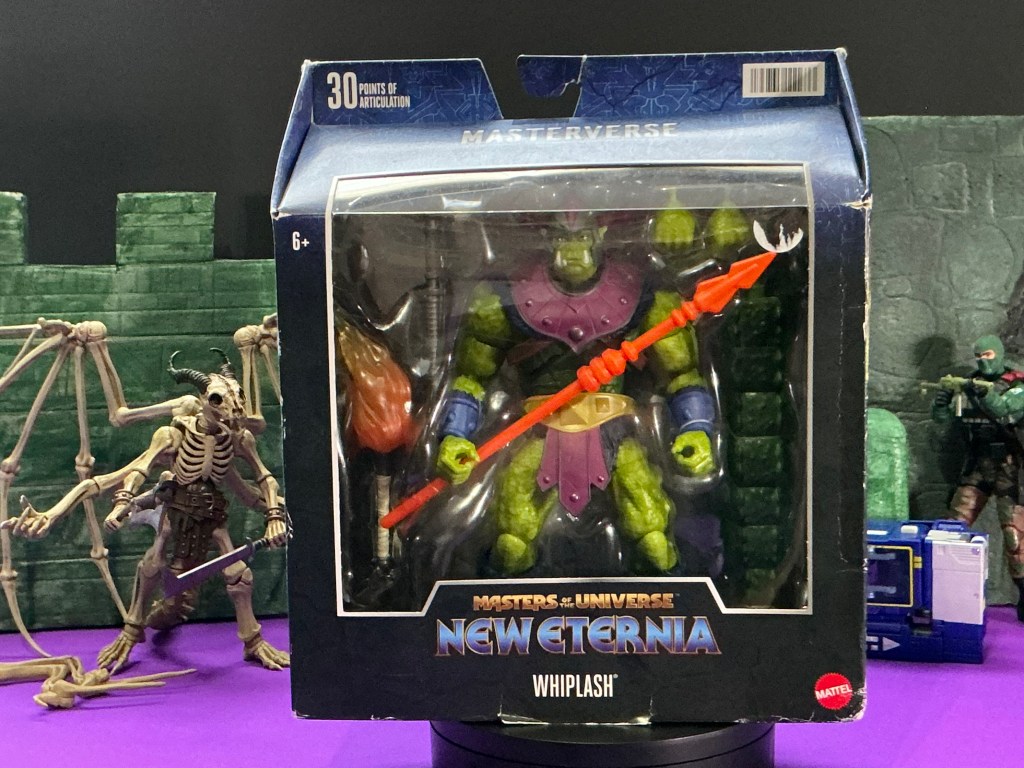
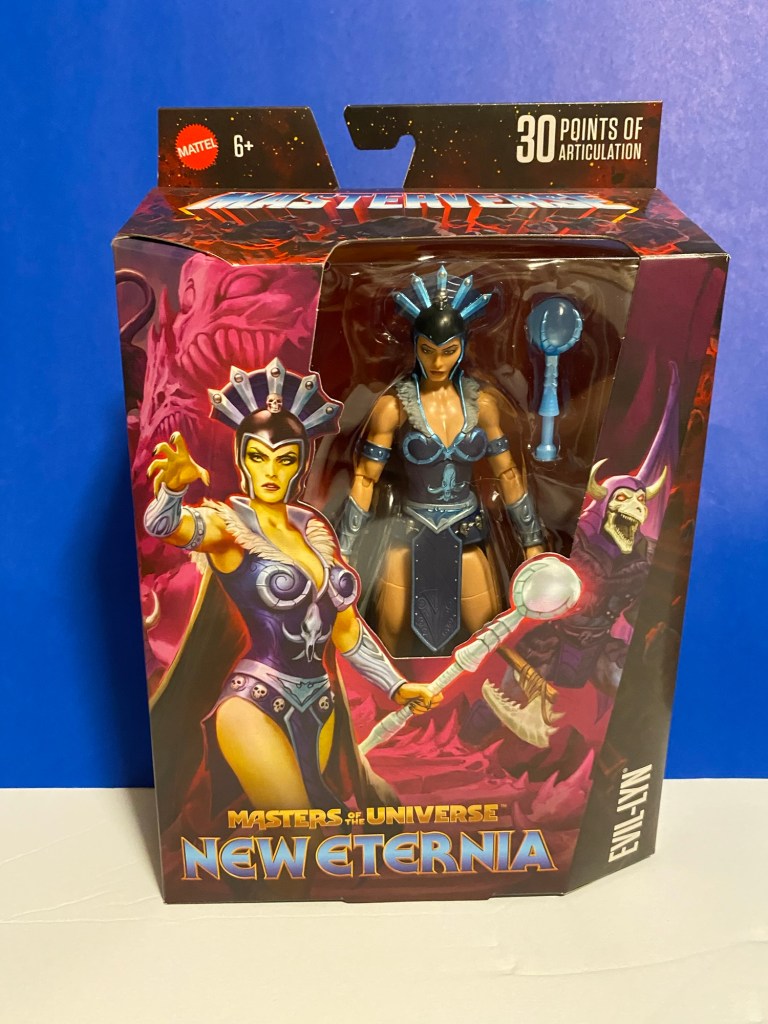
MASTERVERSE New Eternia Whiplash comes in the sporty original packaging that the early run of figures used. It has blue a blue window with little call-outs to various Masters of the Universe elements in faded graphics. You can see the figure very well in the window. Unfortunately, there are signs that this Whiplash has been opened before. The cardboard shows some damage and the tape isn’t factory. And also, the crease in the window of the box is cracked. And on opening it, it became apparent that the figure has been at least partially removed. The little ties were loose and the blister was crumpled. But there are more details about this package to cover. You can see the figure inside, but also can see that the weapon appears to be dislodged.
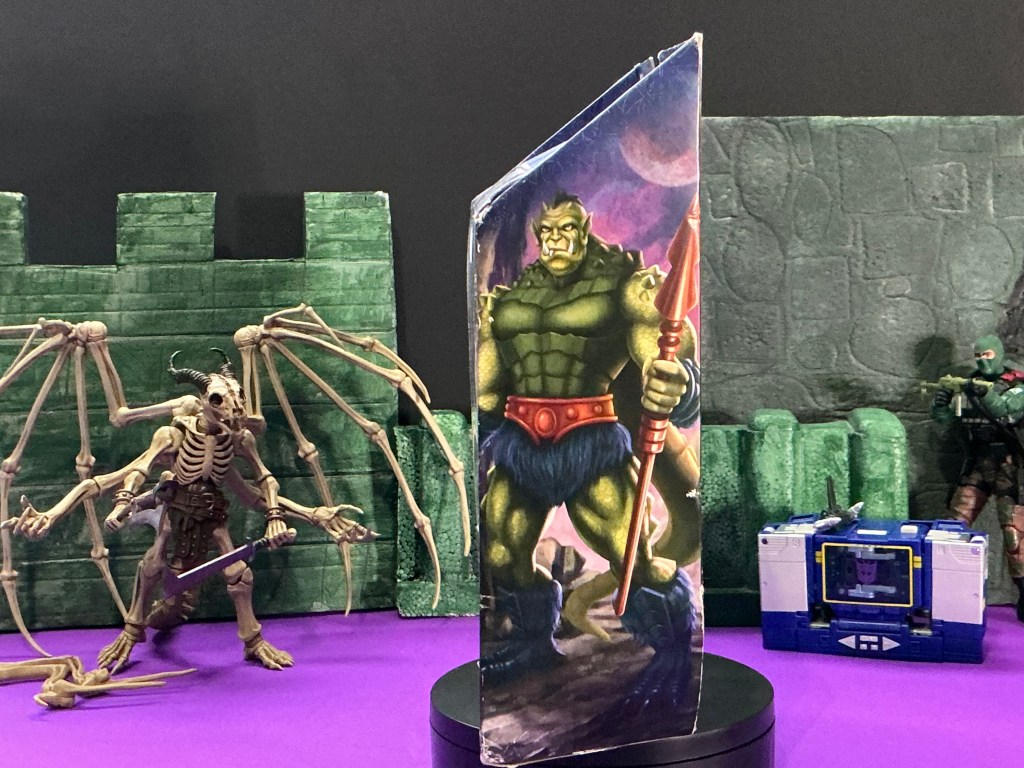
There is artwork on the side depicting the classic appearance of Whiplash…important because this tells us that that helmet is removable!
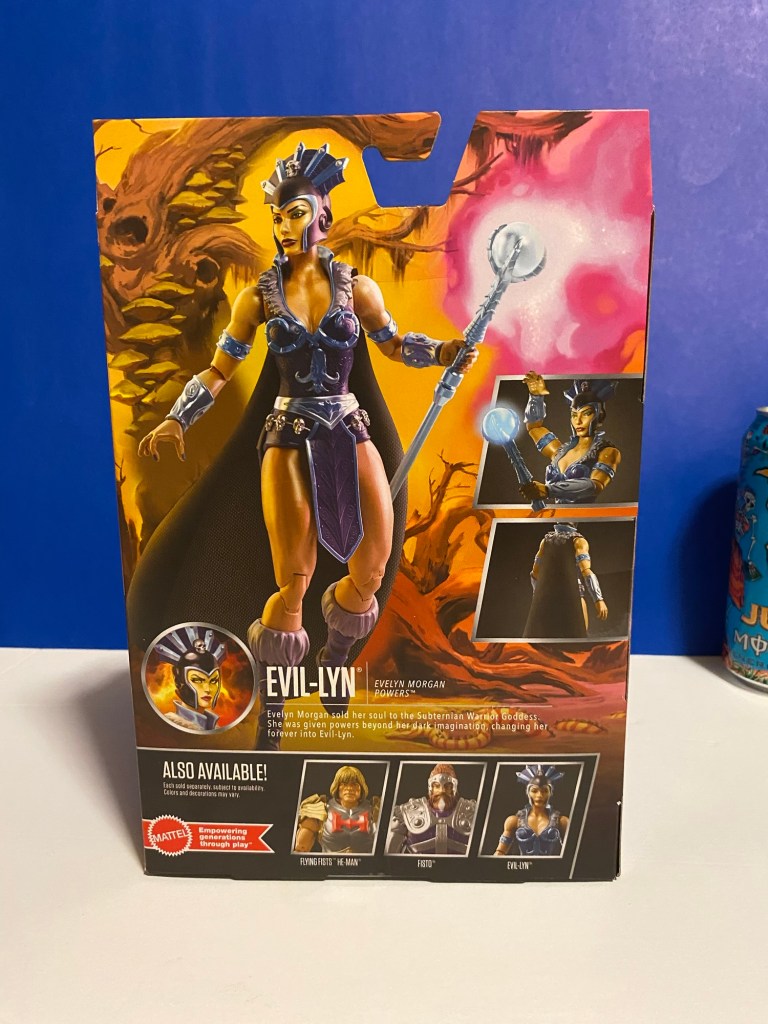
The back shows Whiplash in New Eternia action with excellent art that reminds me of the art we got with the New Eternia Clawful, which is to say…awesome stuff that the line has been lacking for a few years. The bio reminds us that Whiplash is of the Caligar race, but also gives us a new dimension know as “The Demon Zone.”
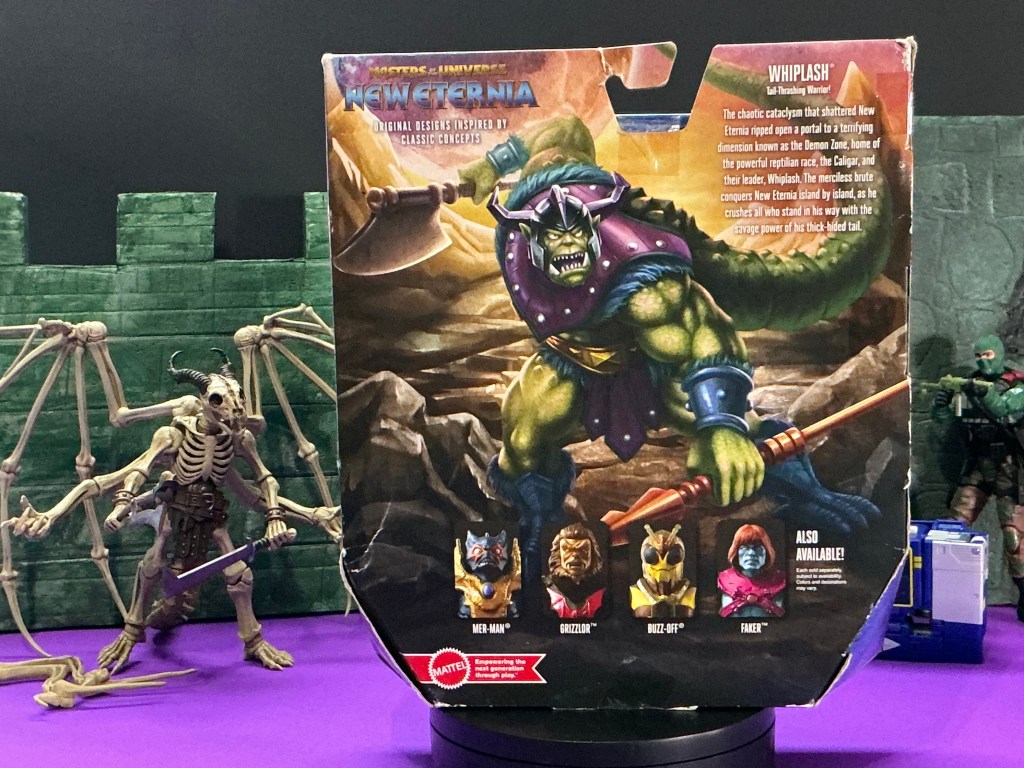
The cross sell art shows Mer-Man, Grizzlor, Buzz Off, and Faker. I have all of these figures other than Grizzlier, who I don’t want. They didn’t do him right by not giving him rooted fur.
FIGURE REVIEW
What do you get in the package?
- Whiplash Figure
- Torch
- Spear
- Axe
- Punching hands
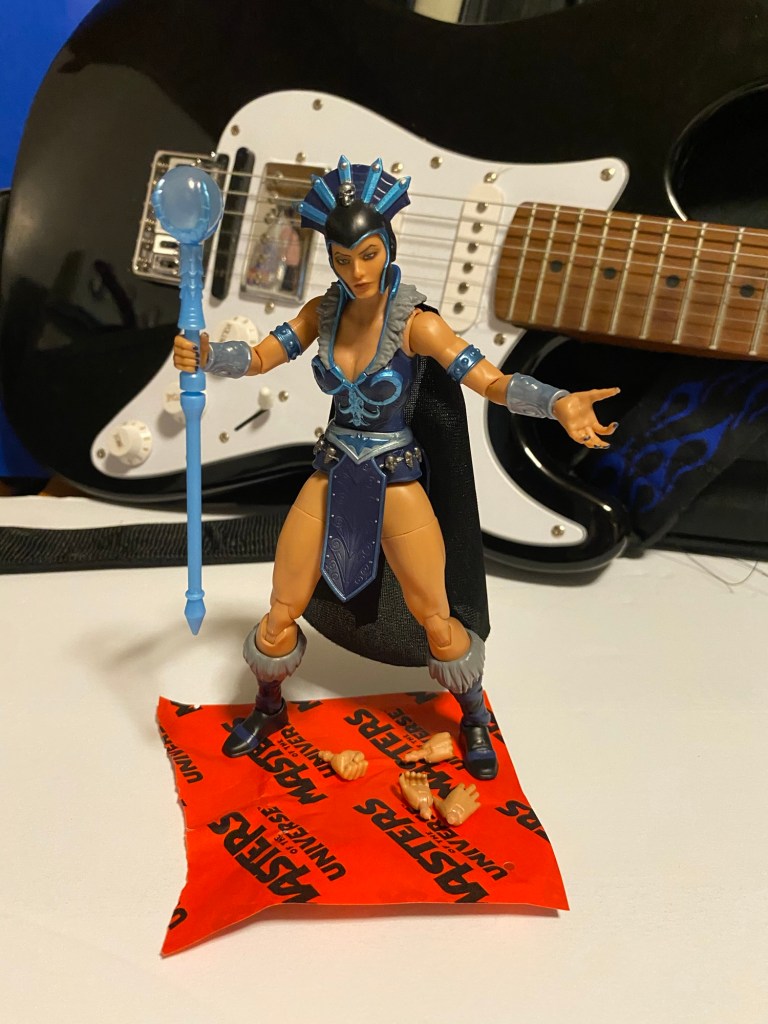
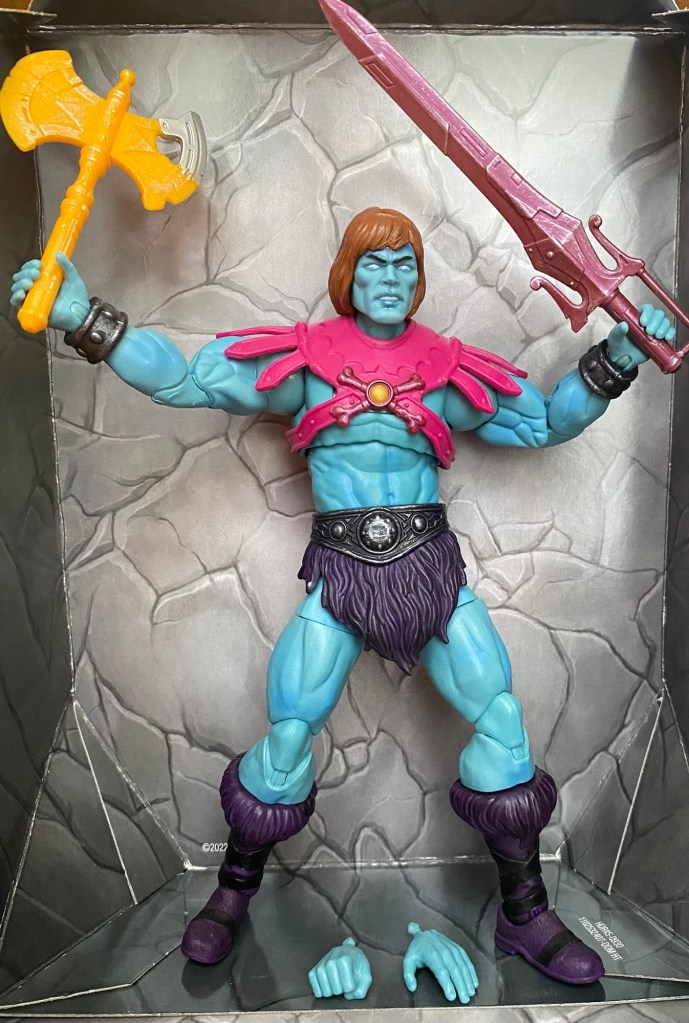
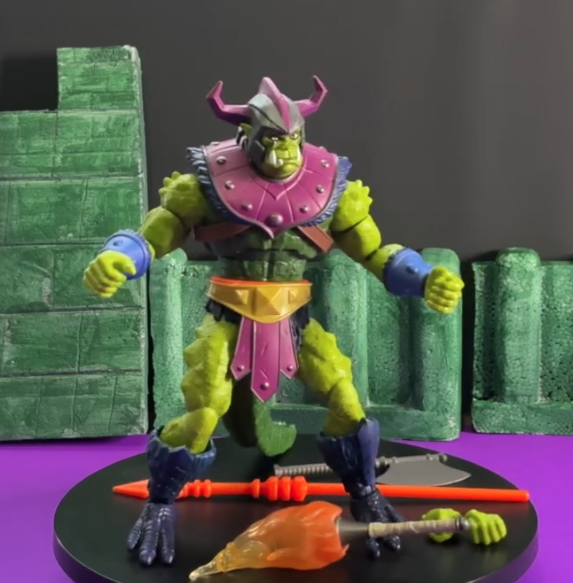
NOW….he comes with the armor on default from the package. But in my mind, these are technically accessories…I won’t be displaying him with these much. The armor is typical Skeletor type of stuff in purple and blue, but has brown straps. There is a gold belt with purple “stille” (probably misspelled) hanging down. And then there is the helmet, which looks cool and fresh, but is thankfully removable. OK…one more thing. The tail isn’t an accessory, though it is packed away from the figure. You assemble this into the octagonal hole beneath the already installed backpack looking piece of tail hanging from his shoulders.
FIGURE REVIEW
As a figure, my example is very loose. Usually figures are stiff when taken out of a package. More evidence that this specific Whiplash figure has been out of the box already and played with. Important. By design, his legs can’t extend out straight. Mattel wanted him to remain in a squat stance by default evidently. But I am going to count this as a stupid problem. Other figures in this scale can extend their legs out. It makes it seem wrong and a person could try and force it on Whiplash and wind up breaking something.
The tail is made of a heavy rubber material, and I don’t know how much abuse it could take or if it will break down over time. It IS posable, but also stiff enough that you feel like you could overdo it.
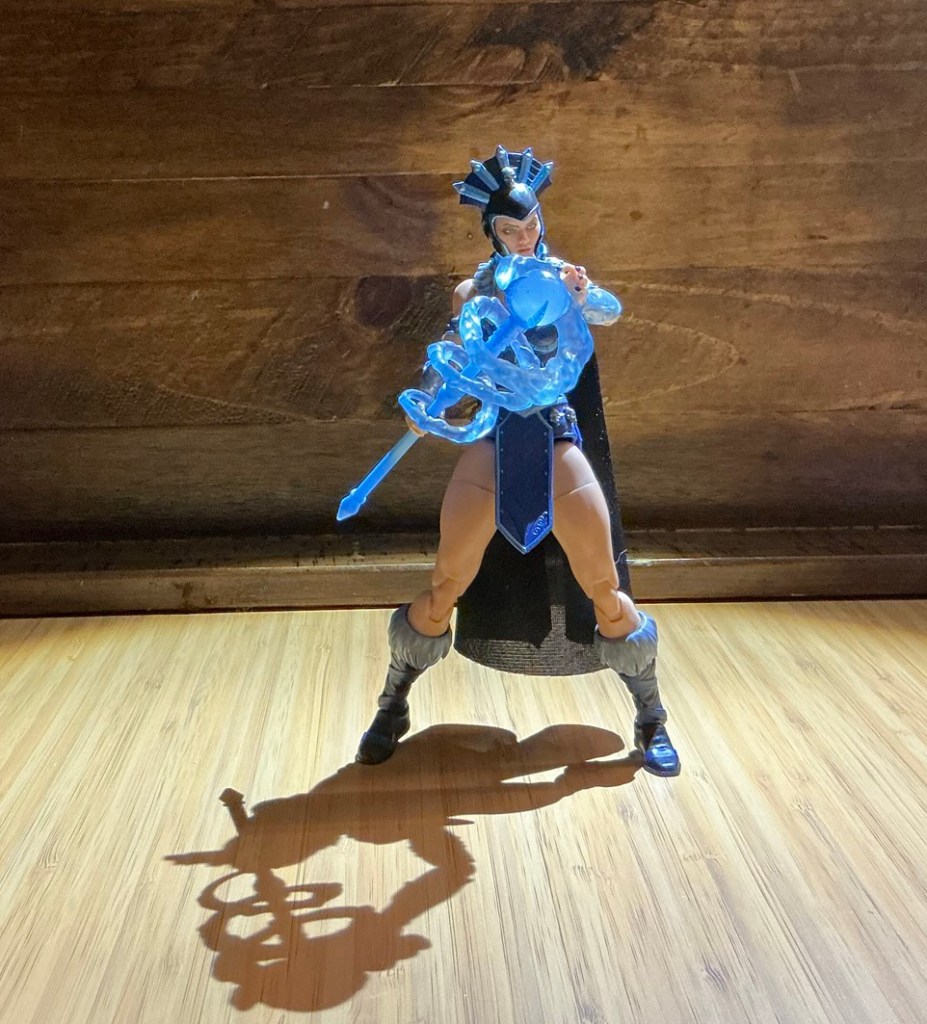
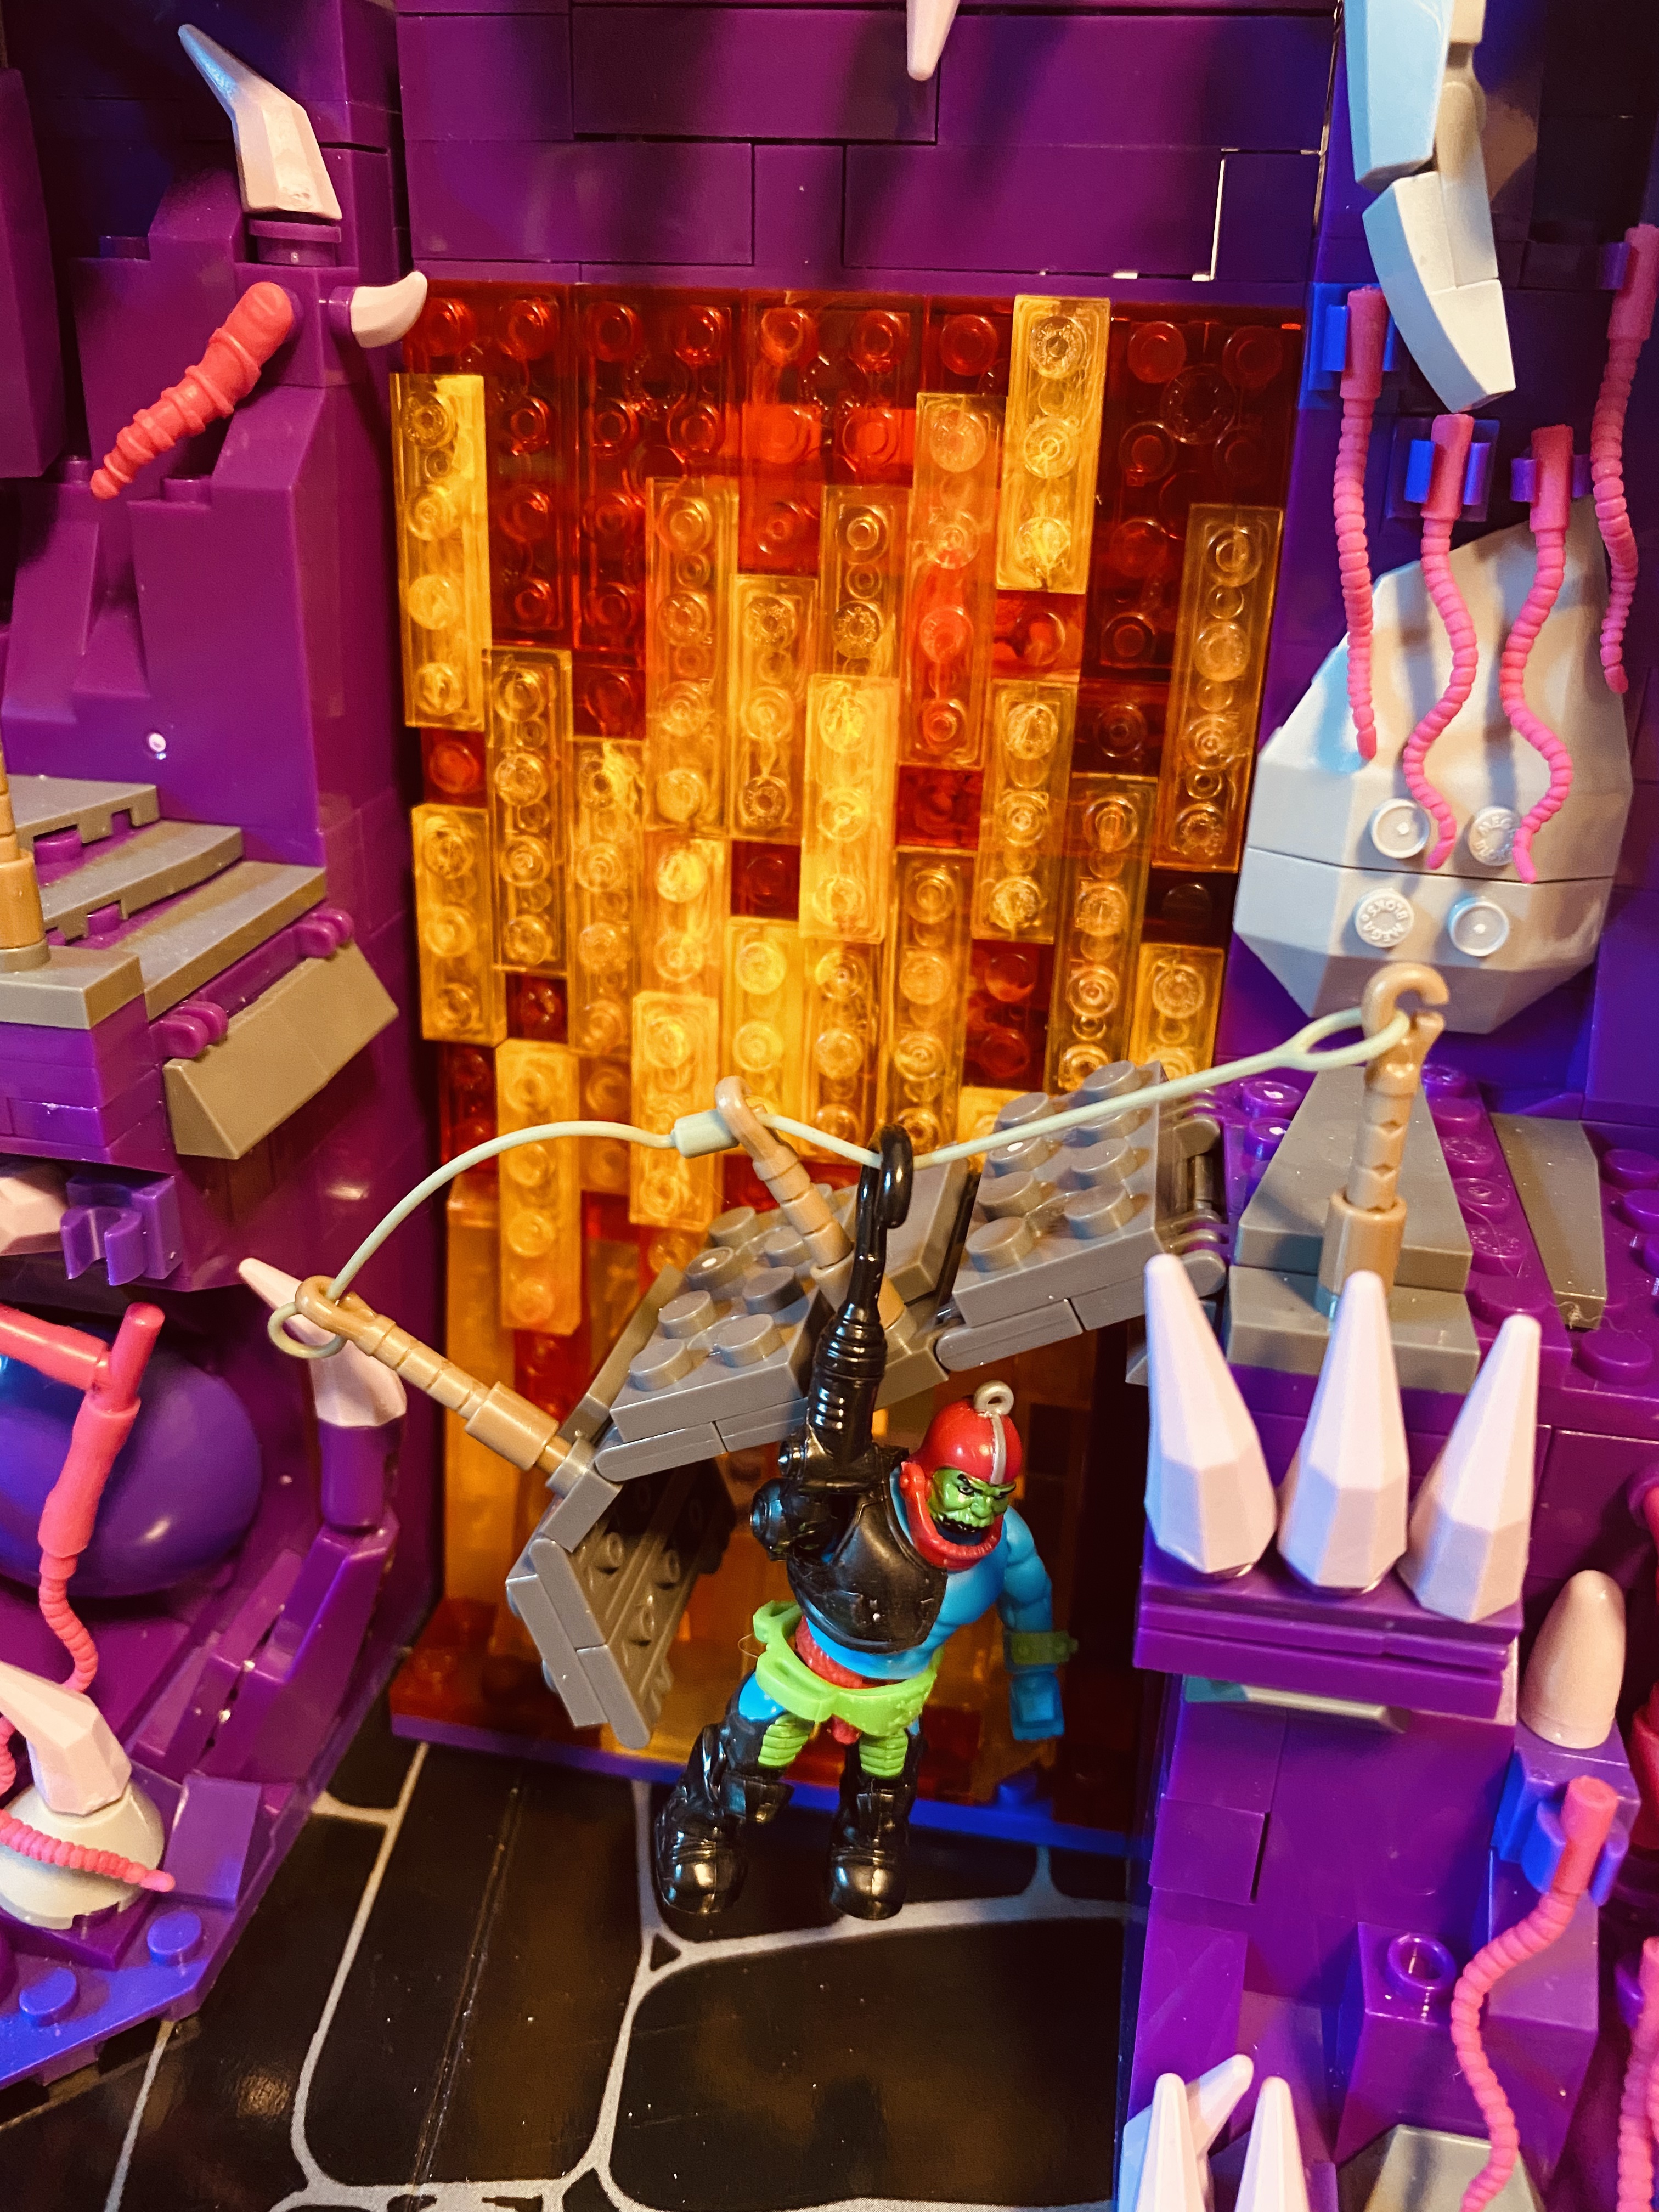
This tail is a balance point, just the same way that the tail of a real animal is sometimes used. Whiplash has big, flat feet, and this is helpful, but that tail really makes it work. You can prop him up with it, or use it to counterbalance.
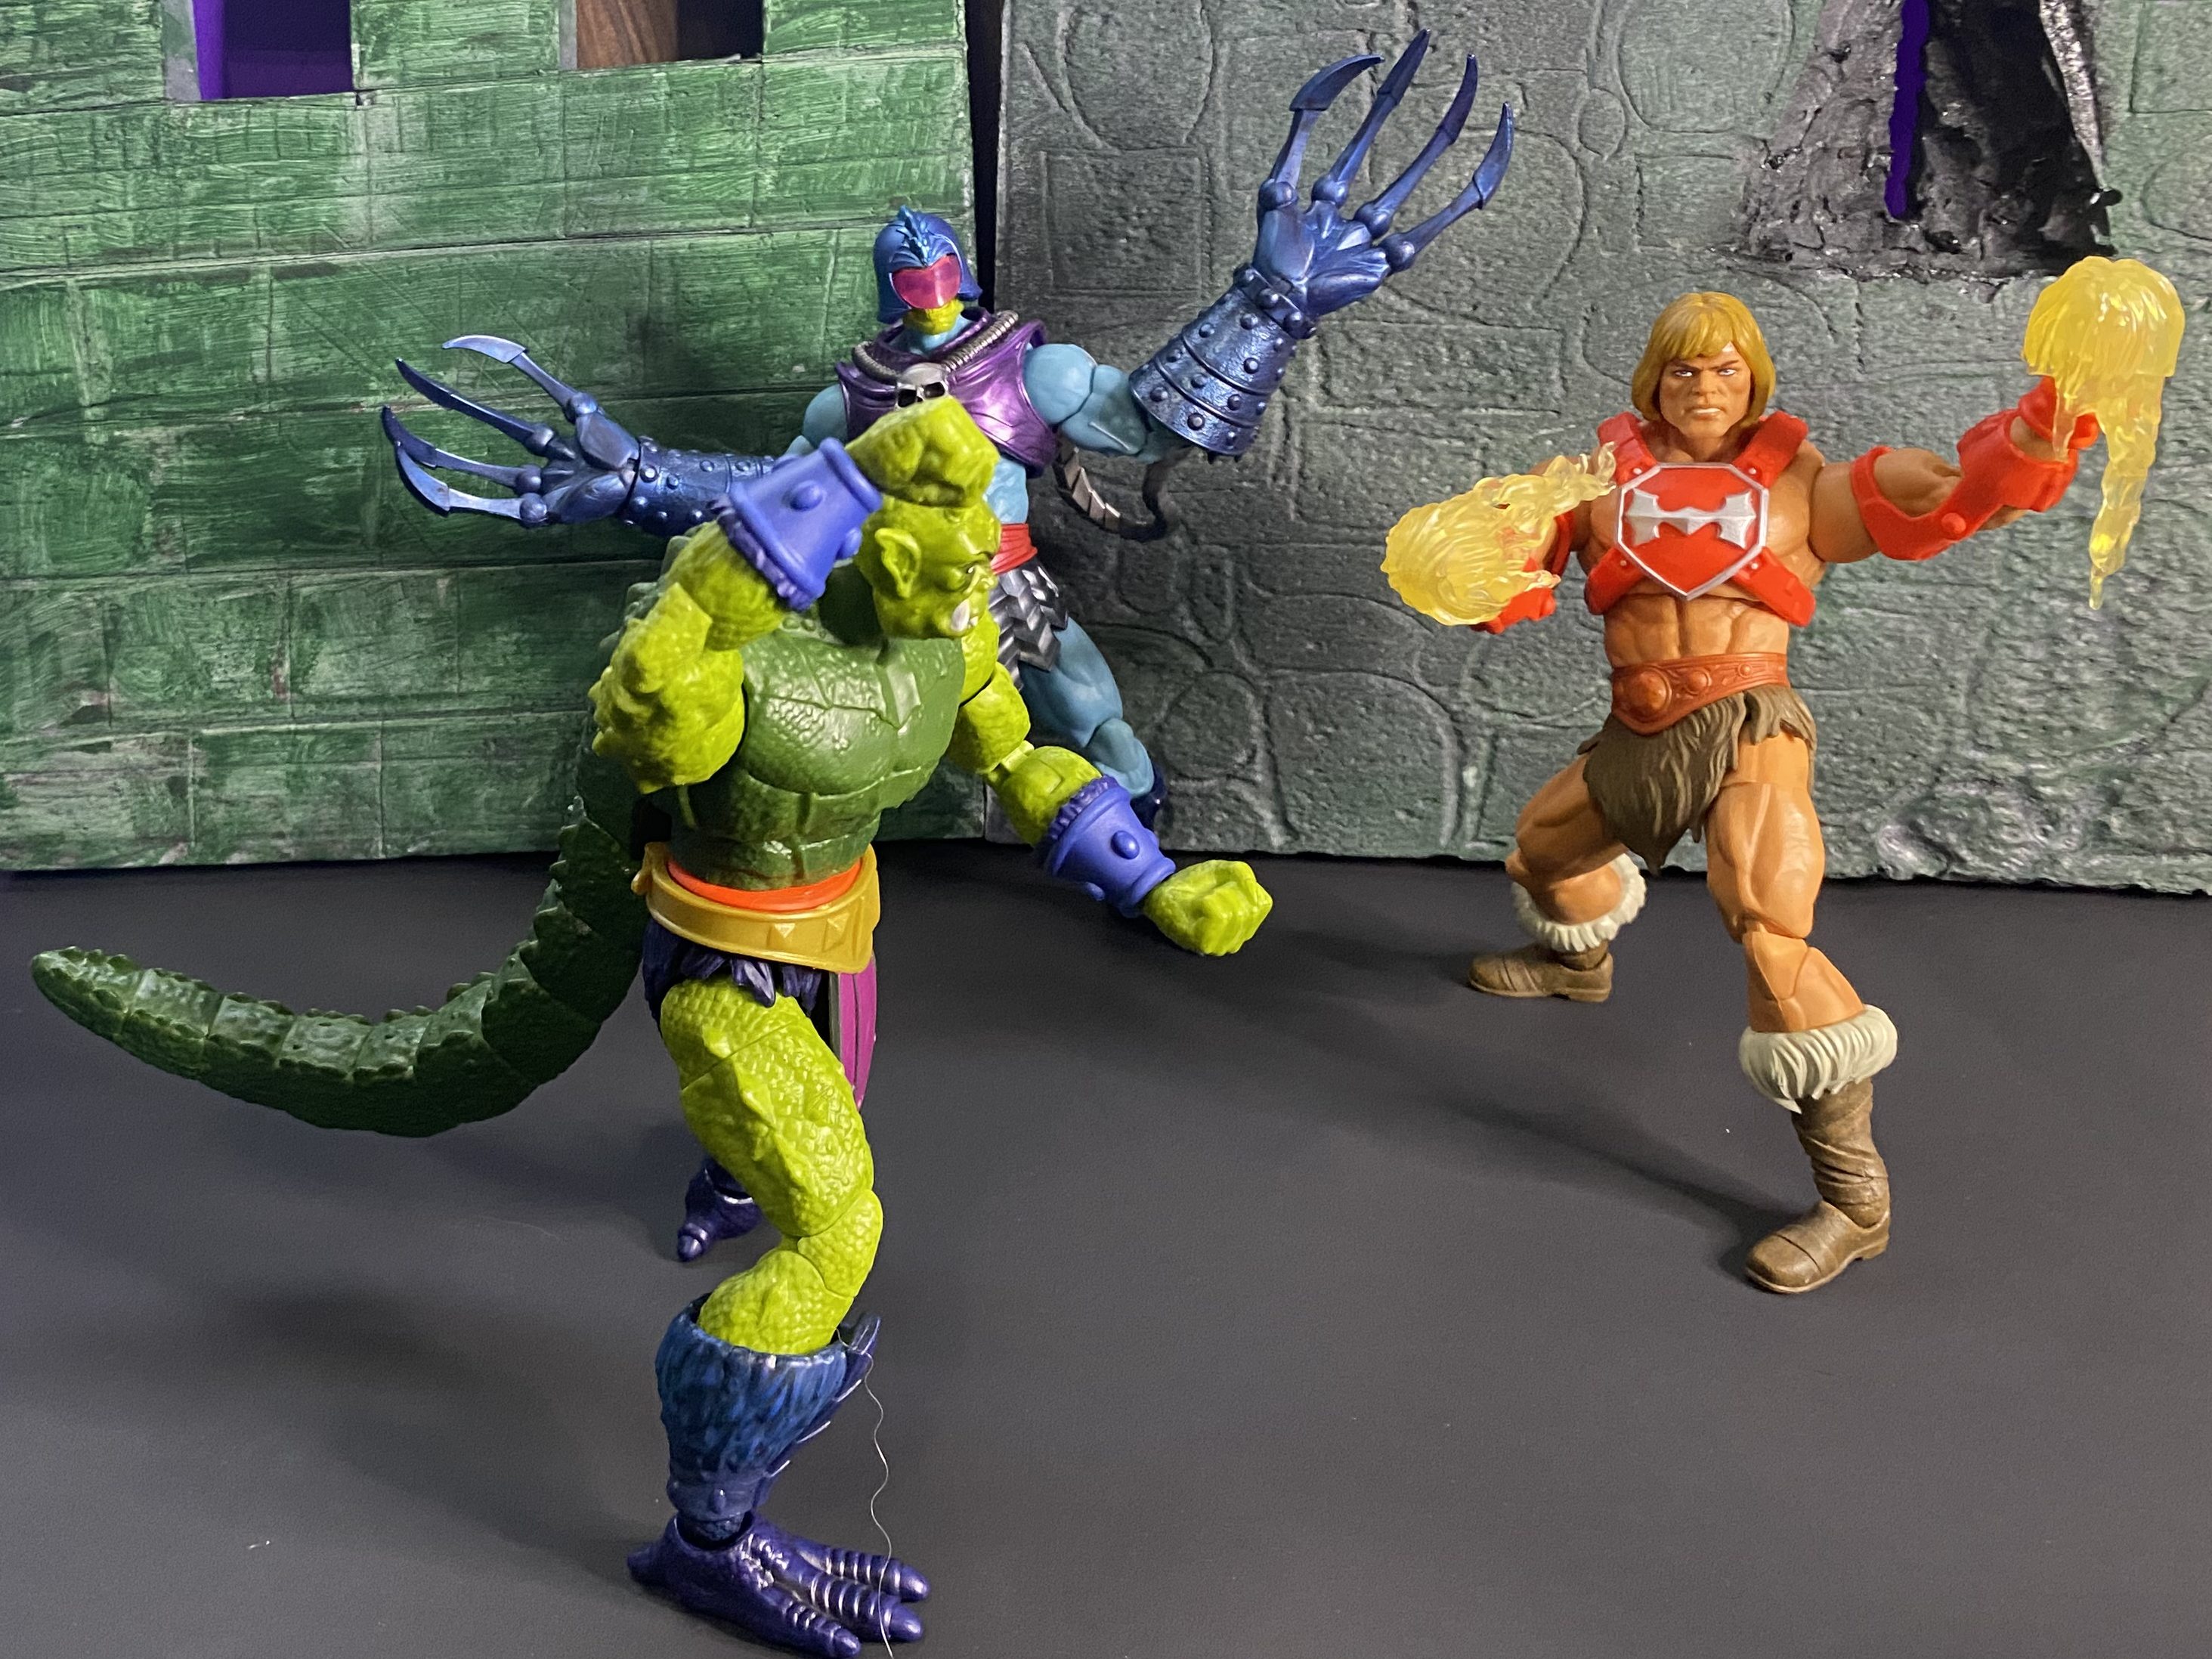
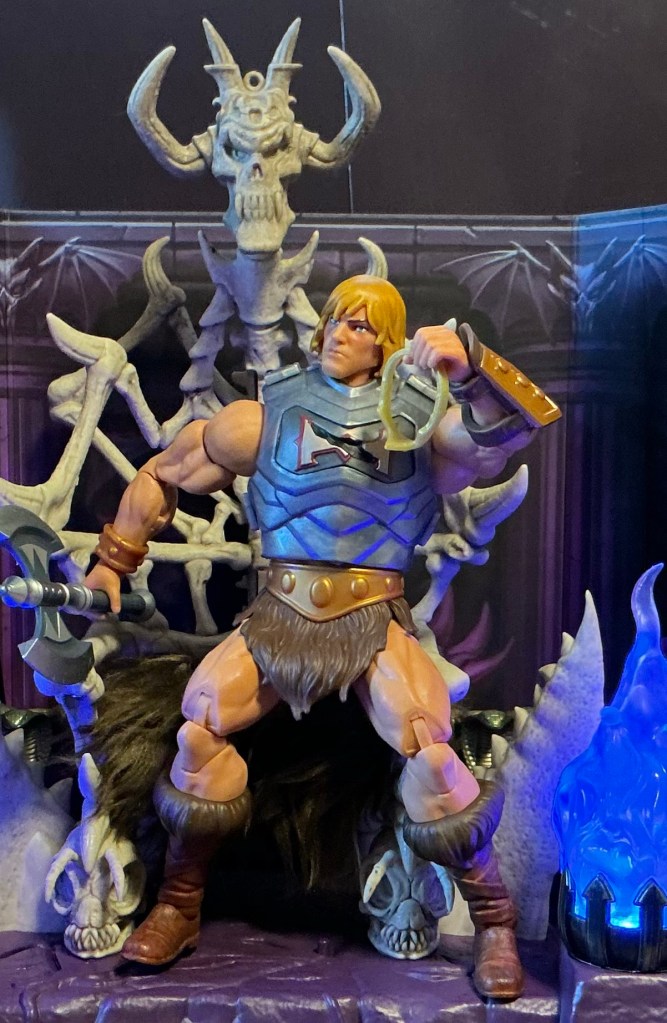
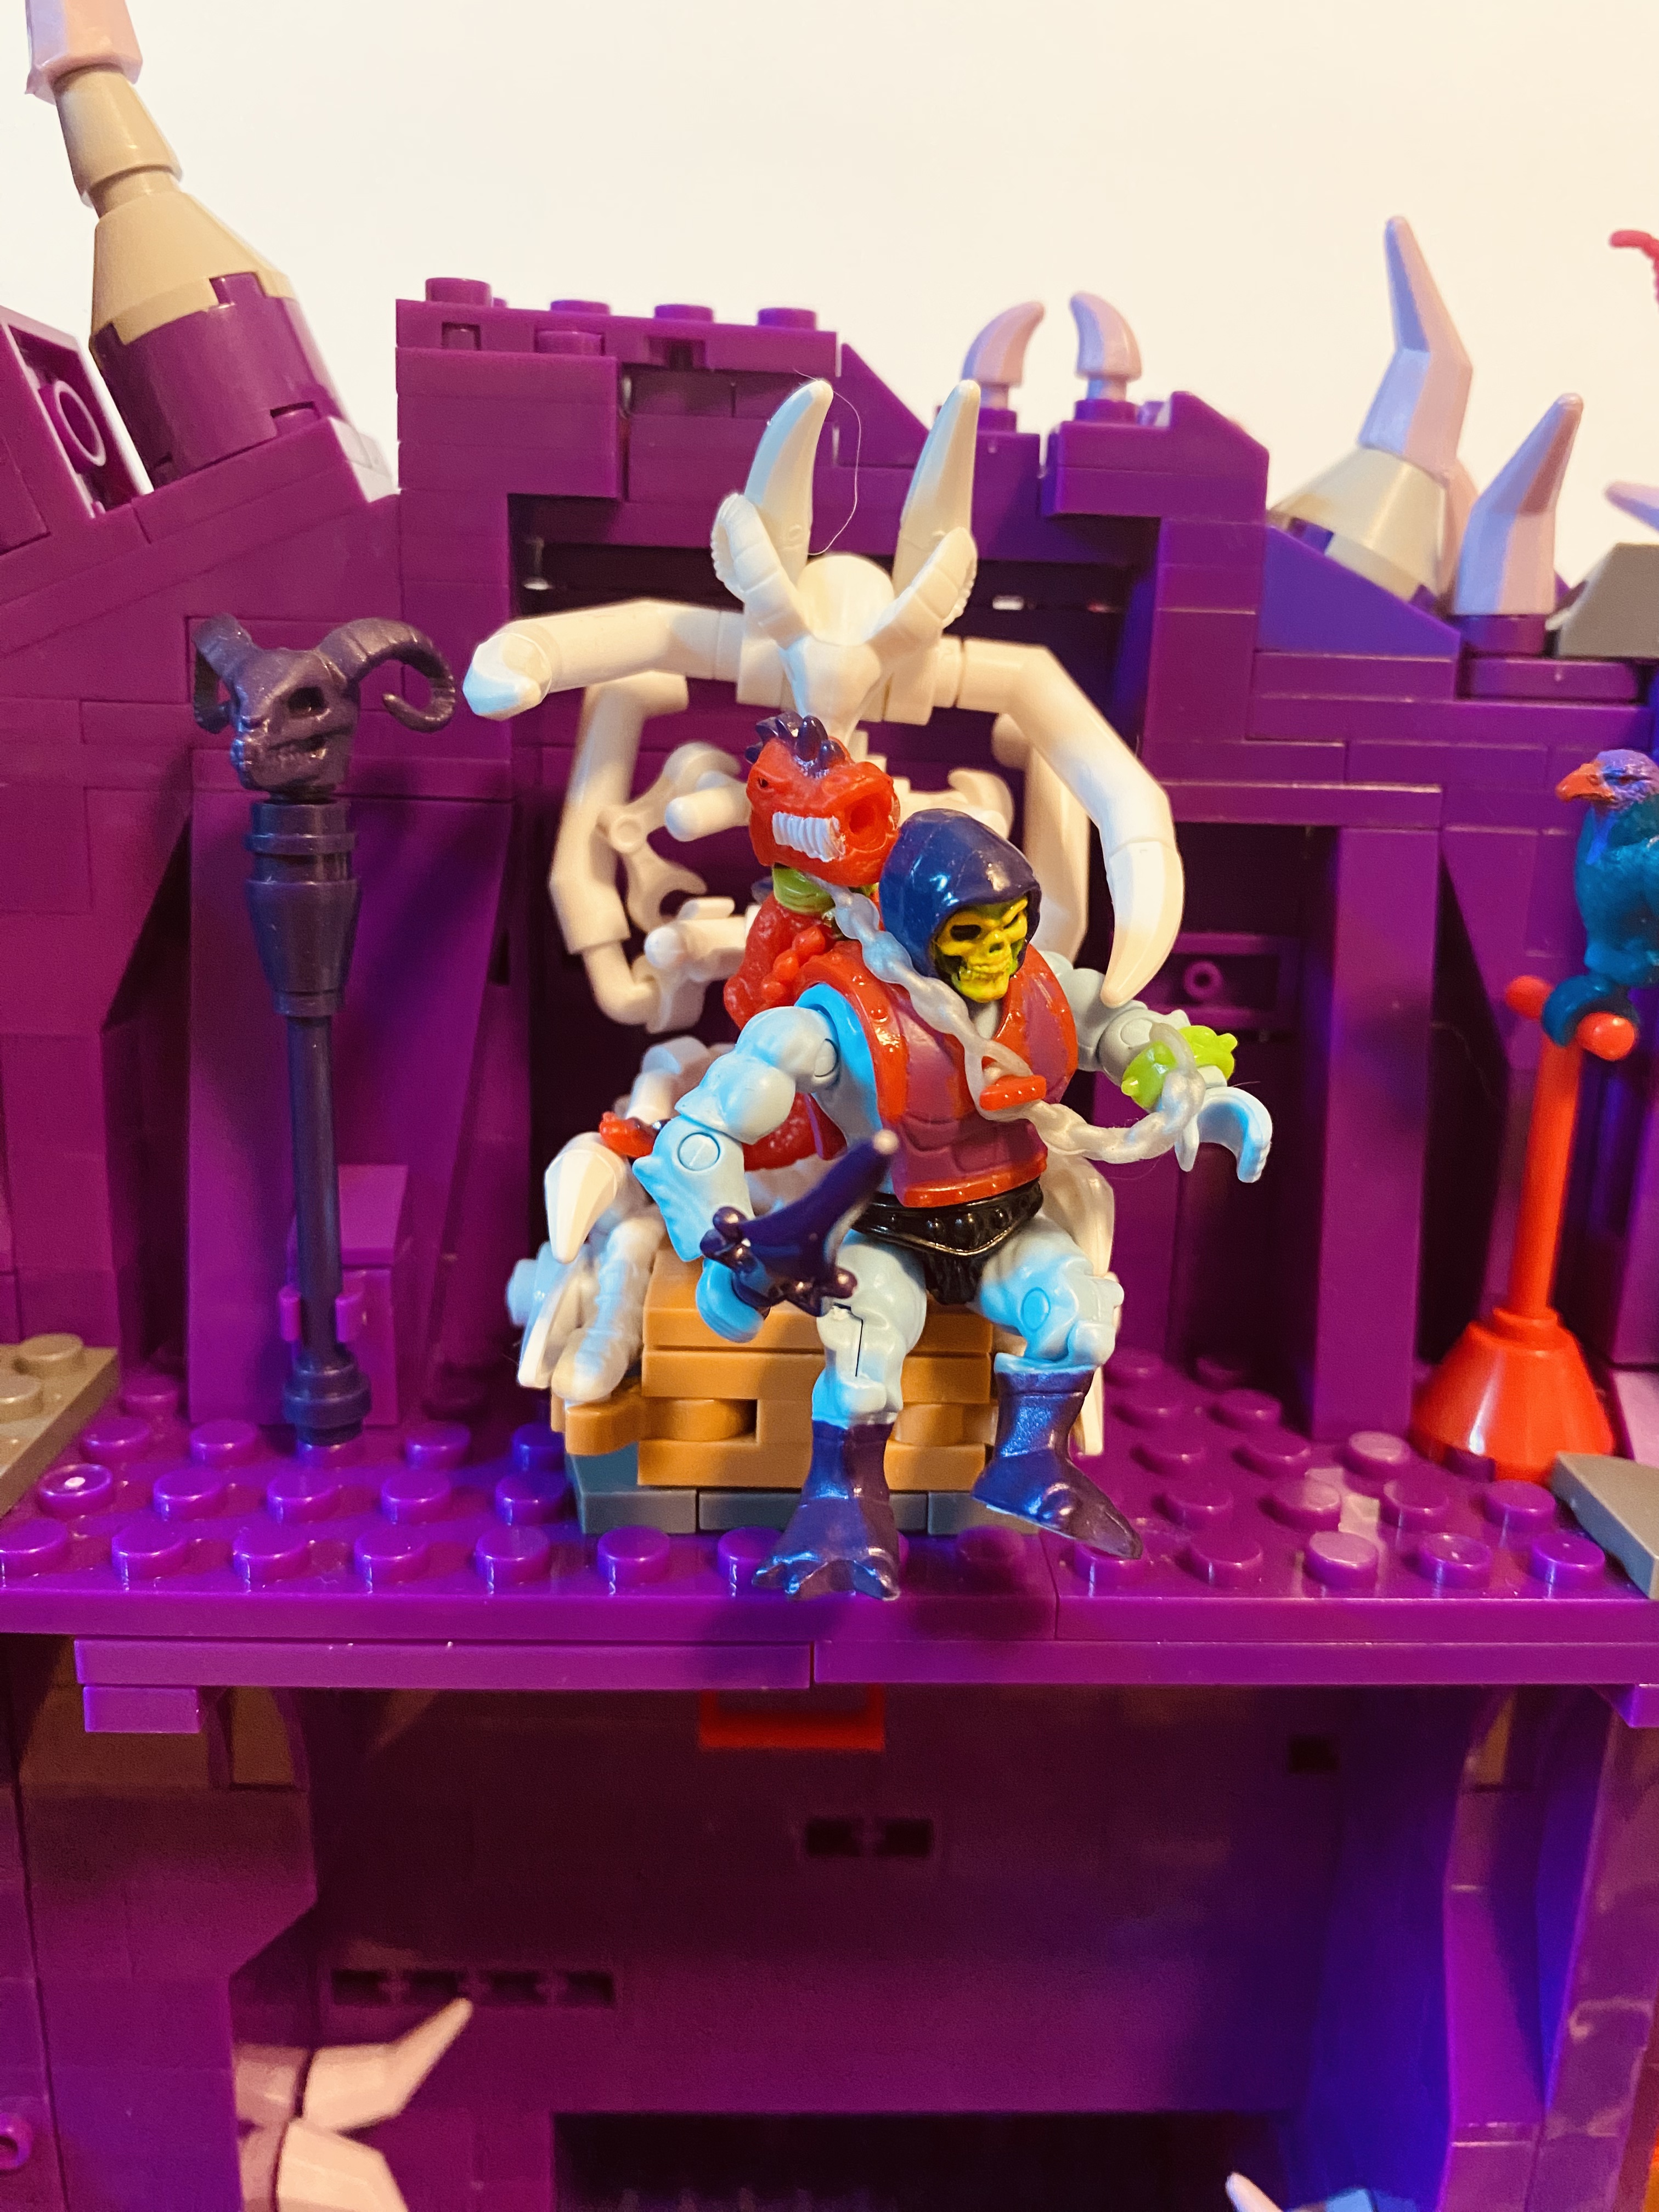
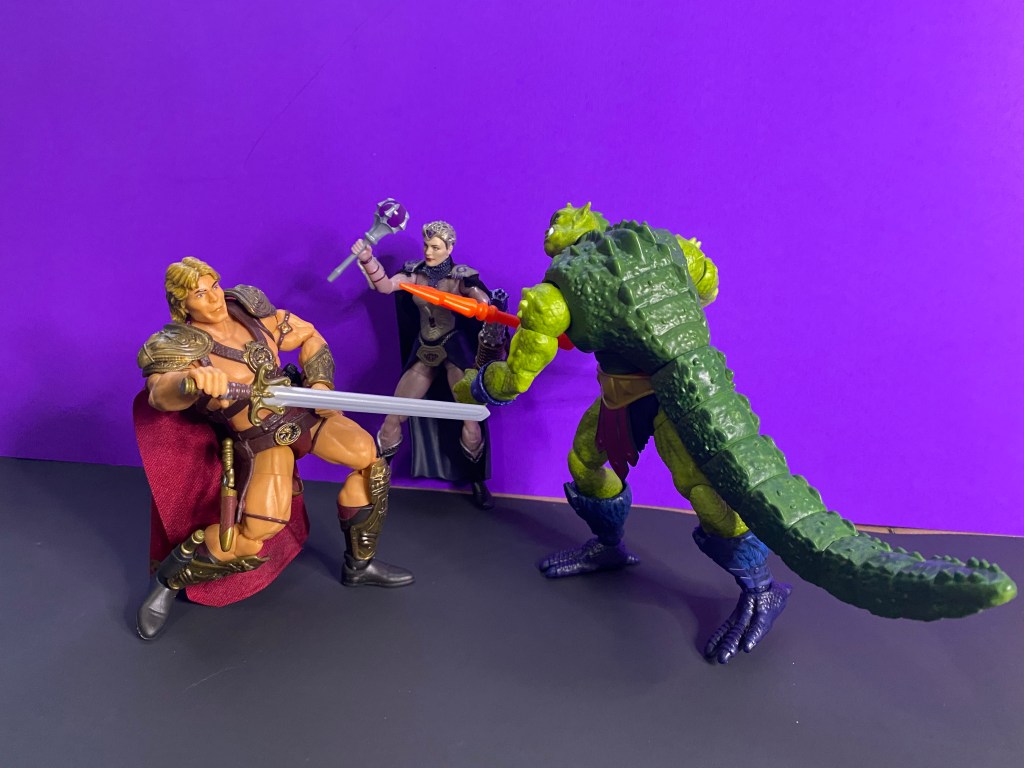
Whiplash’s sculpt is very nice. but his paint is lacking except for in his face and on his armor. In the above photo I have him fighting Thunder Punch He-Man with his own raised fists. And Terror Claws Skeletor has his hilarious claws read also.
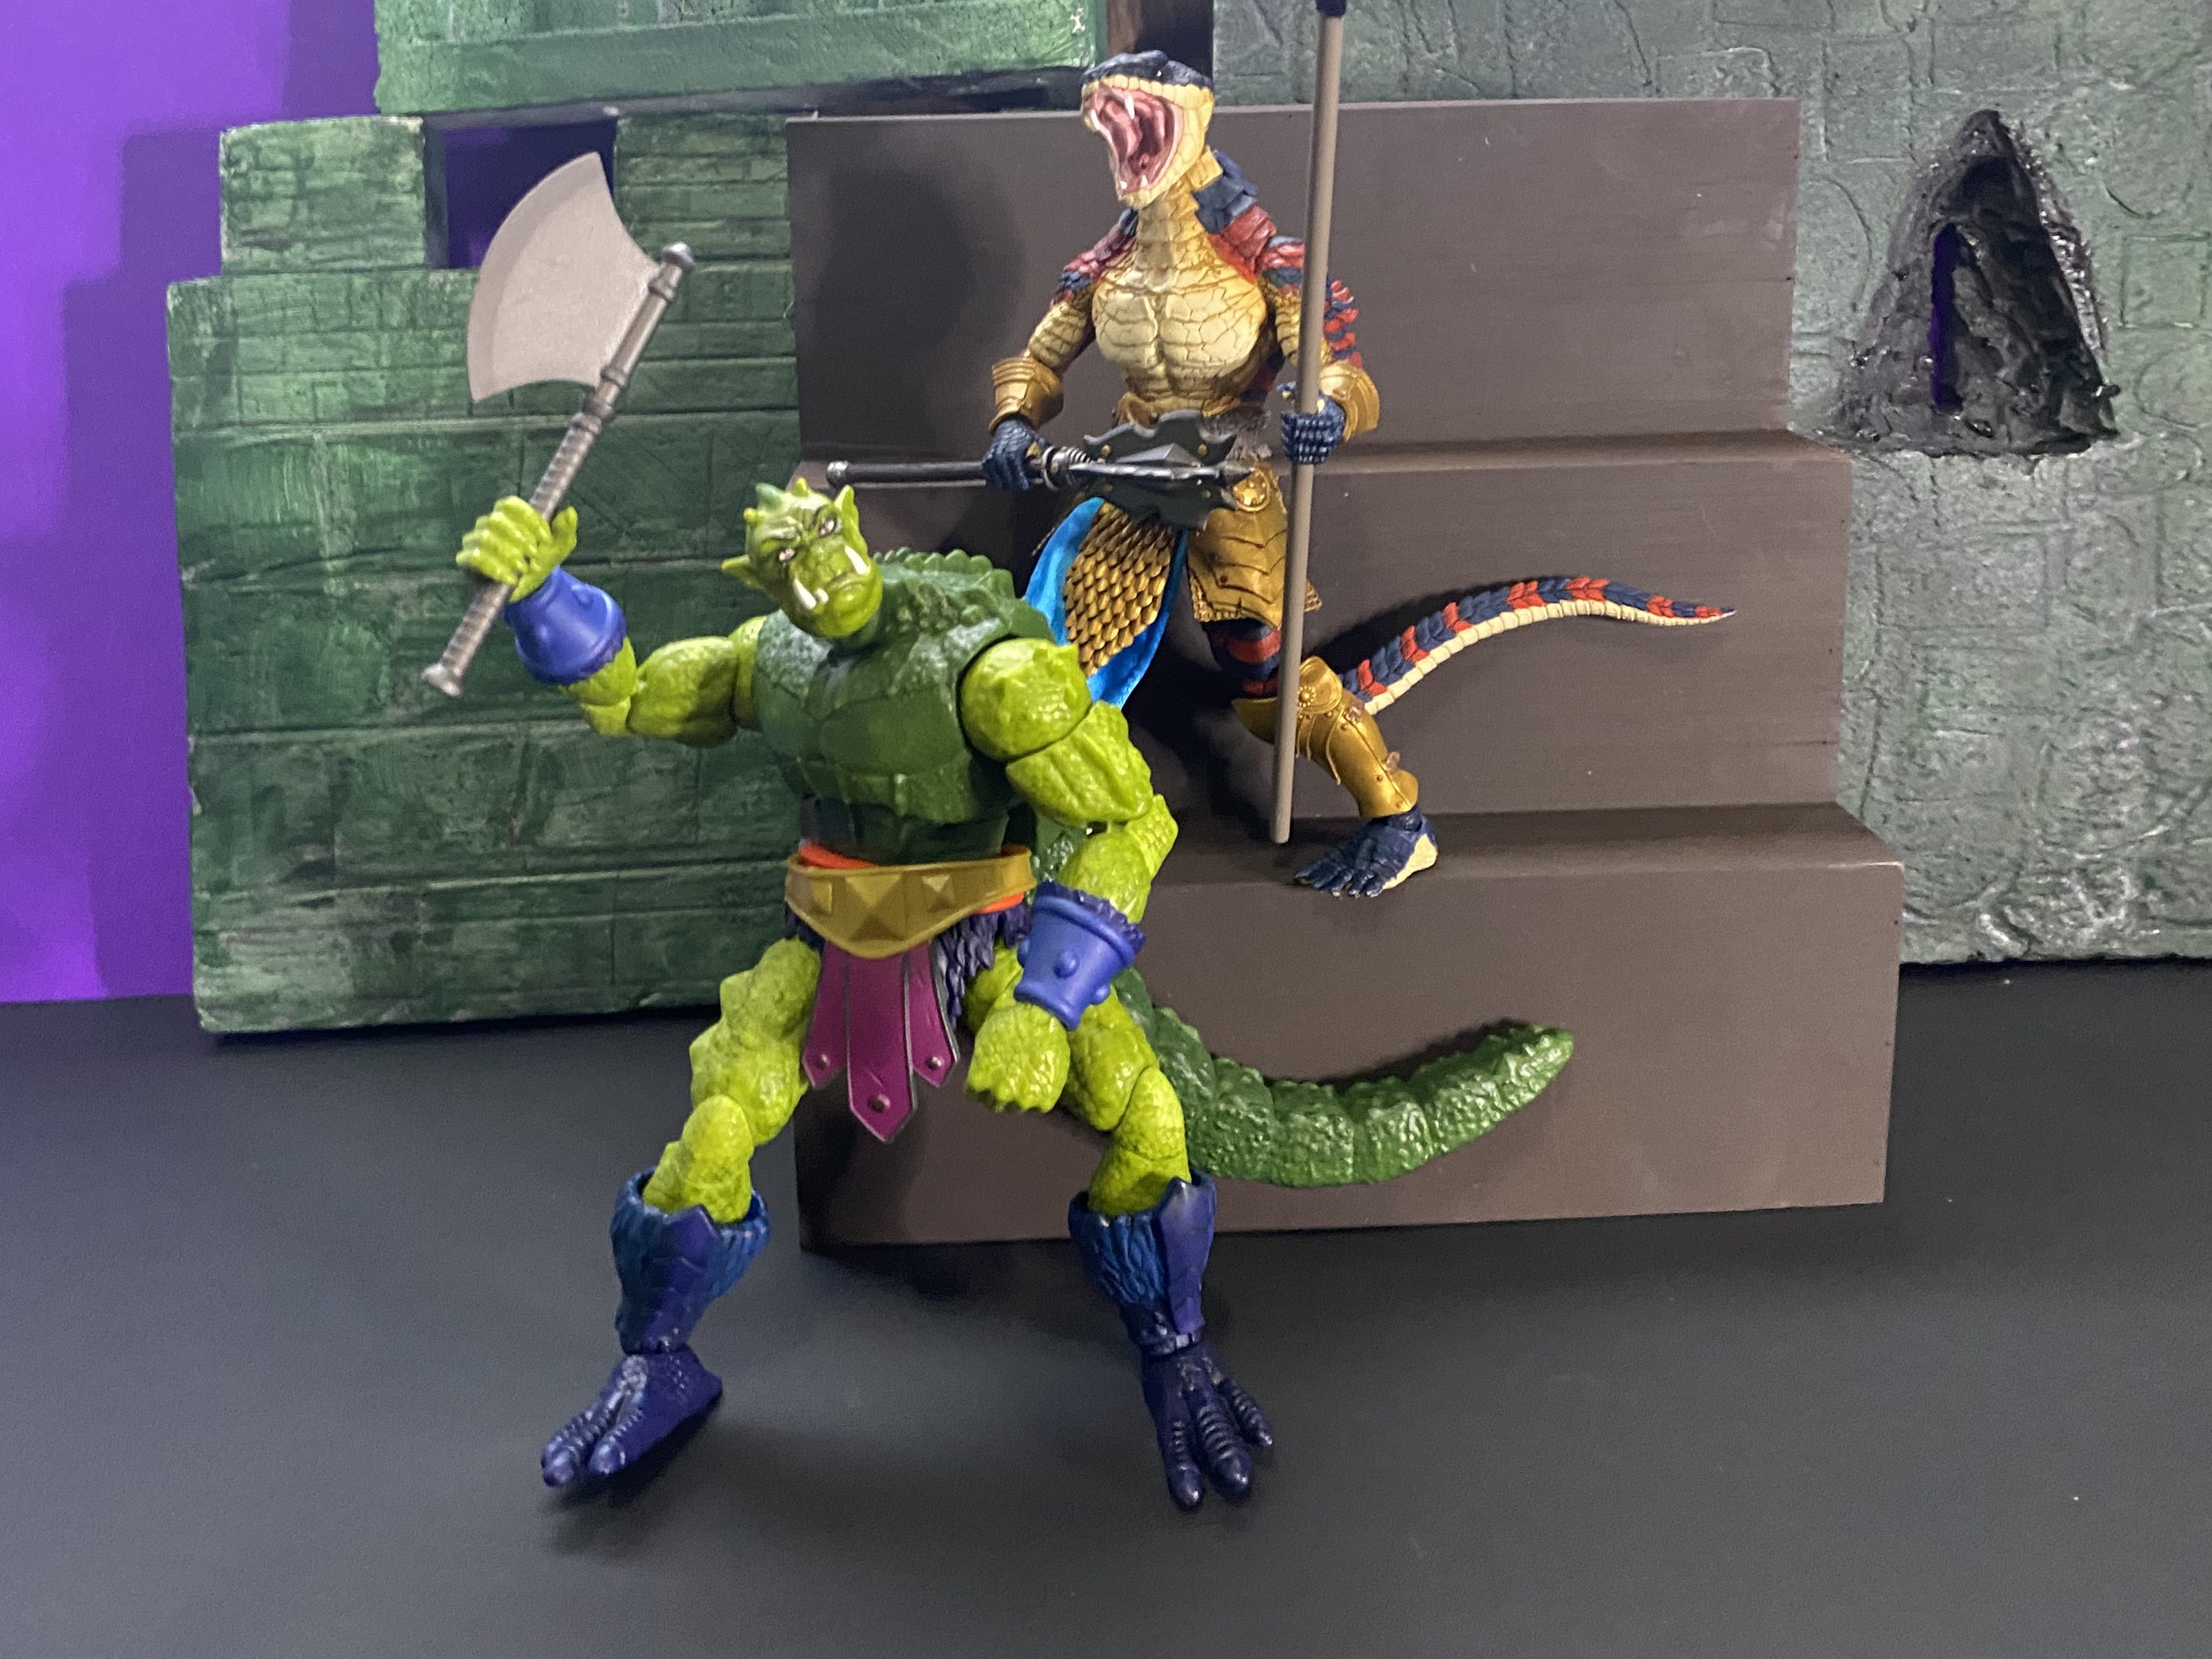
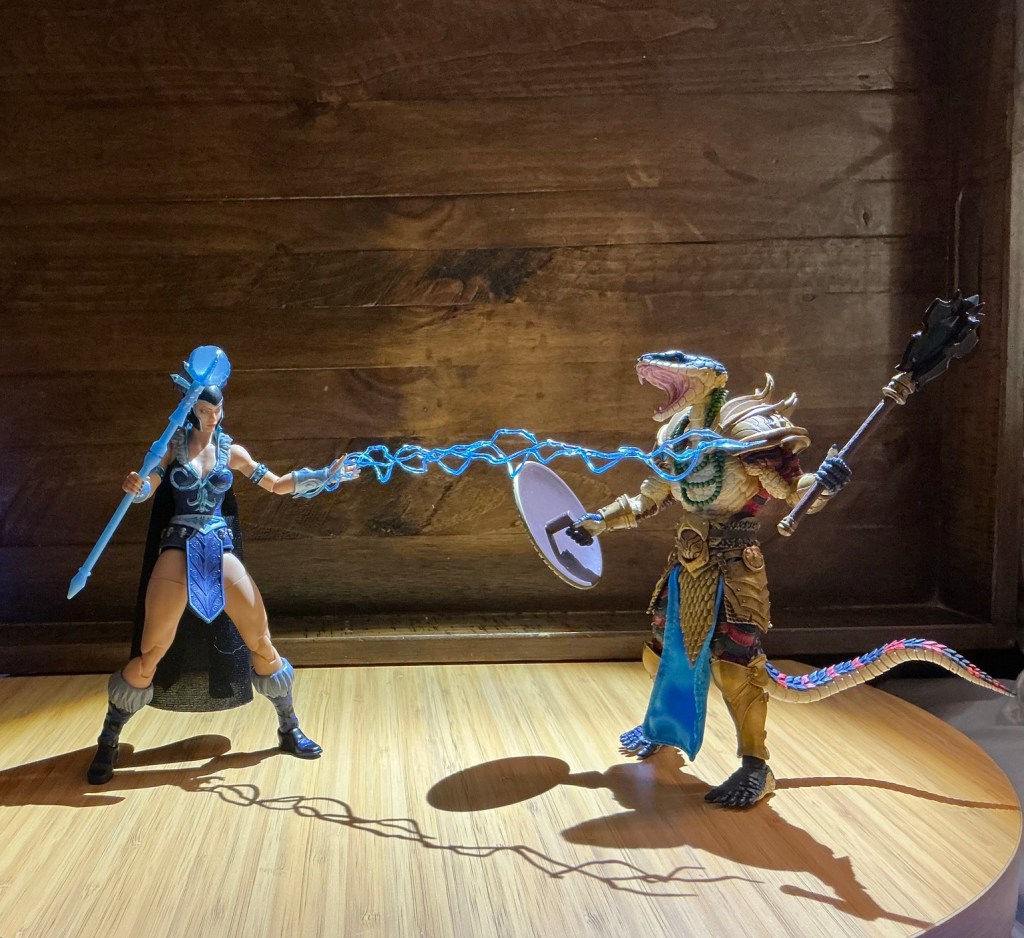
You can see a real quality difference between the Masterverse figure with a lower price point, and the Mythic Legions figure with a higher. The paint and sculpt on the Ninian Infantry soldier is just incredible, making Whiplash’s seem to be $30 less of value 🙂 I wanted to use this example because of the tail. the Mythic Legions tail is more bendable. But I have also broken one of these snake guys’ tail off. There won’t be any danger of that happening with Whiplash.
Whiplash’s colors could be worse.

A BIG COMPARISON
So, as I mentioned above, I already have had a Whiplash figure…I should say “Whiplash” figure.
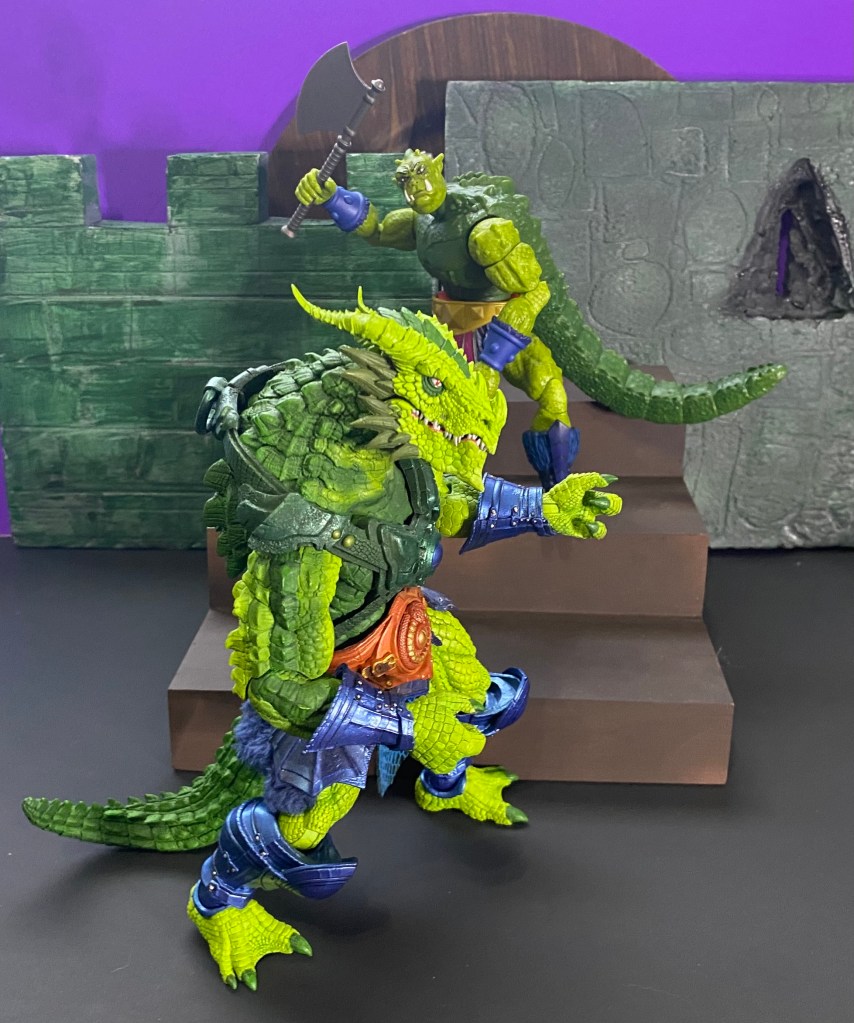
So, once again…the Mythic (Cosmic) Legions is clearly MORE incredible than the MASTERVERSE figure. We have to set that aside, however and be subjective for one. SSKURGGE is not the same person as Whiplash. And this is a real difference. He isn’t “The Real Slim Shady,) only a copycat. You should watch my video as I do headswaps and get cracked up…it is pretty funny. Otherwise, these guys are the exact same colors of green. (Find the review of SSKURGGE here).
WHAT DOES HE ADD TO THE COLLECTION
I mean…He’s Whiplash. An essential character!
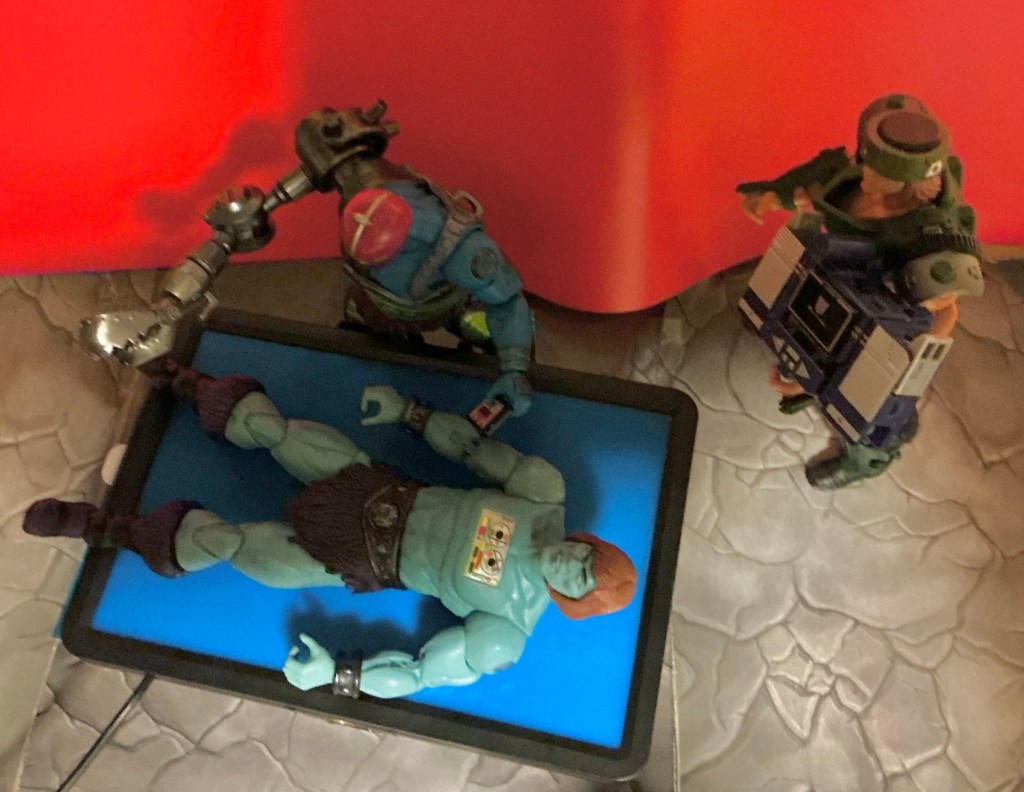
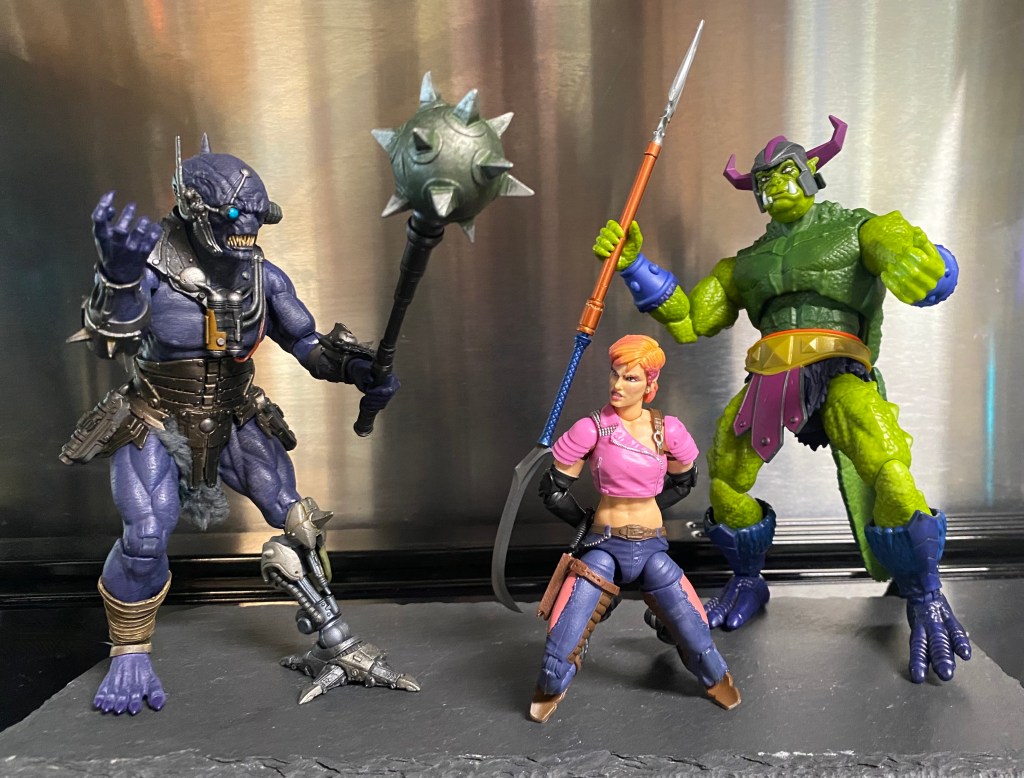
A great bounty hunter…look as he and Cosmic Legions Kannox Vull bring in GI Joe Classified Series Zarana on Cybertron.
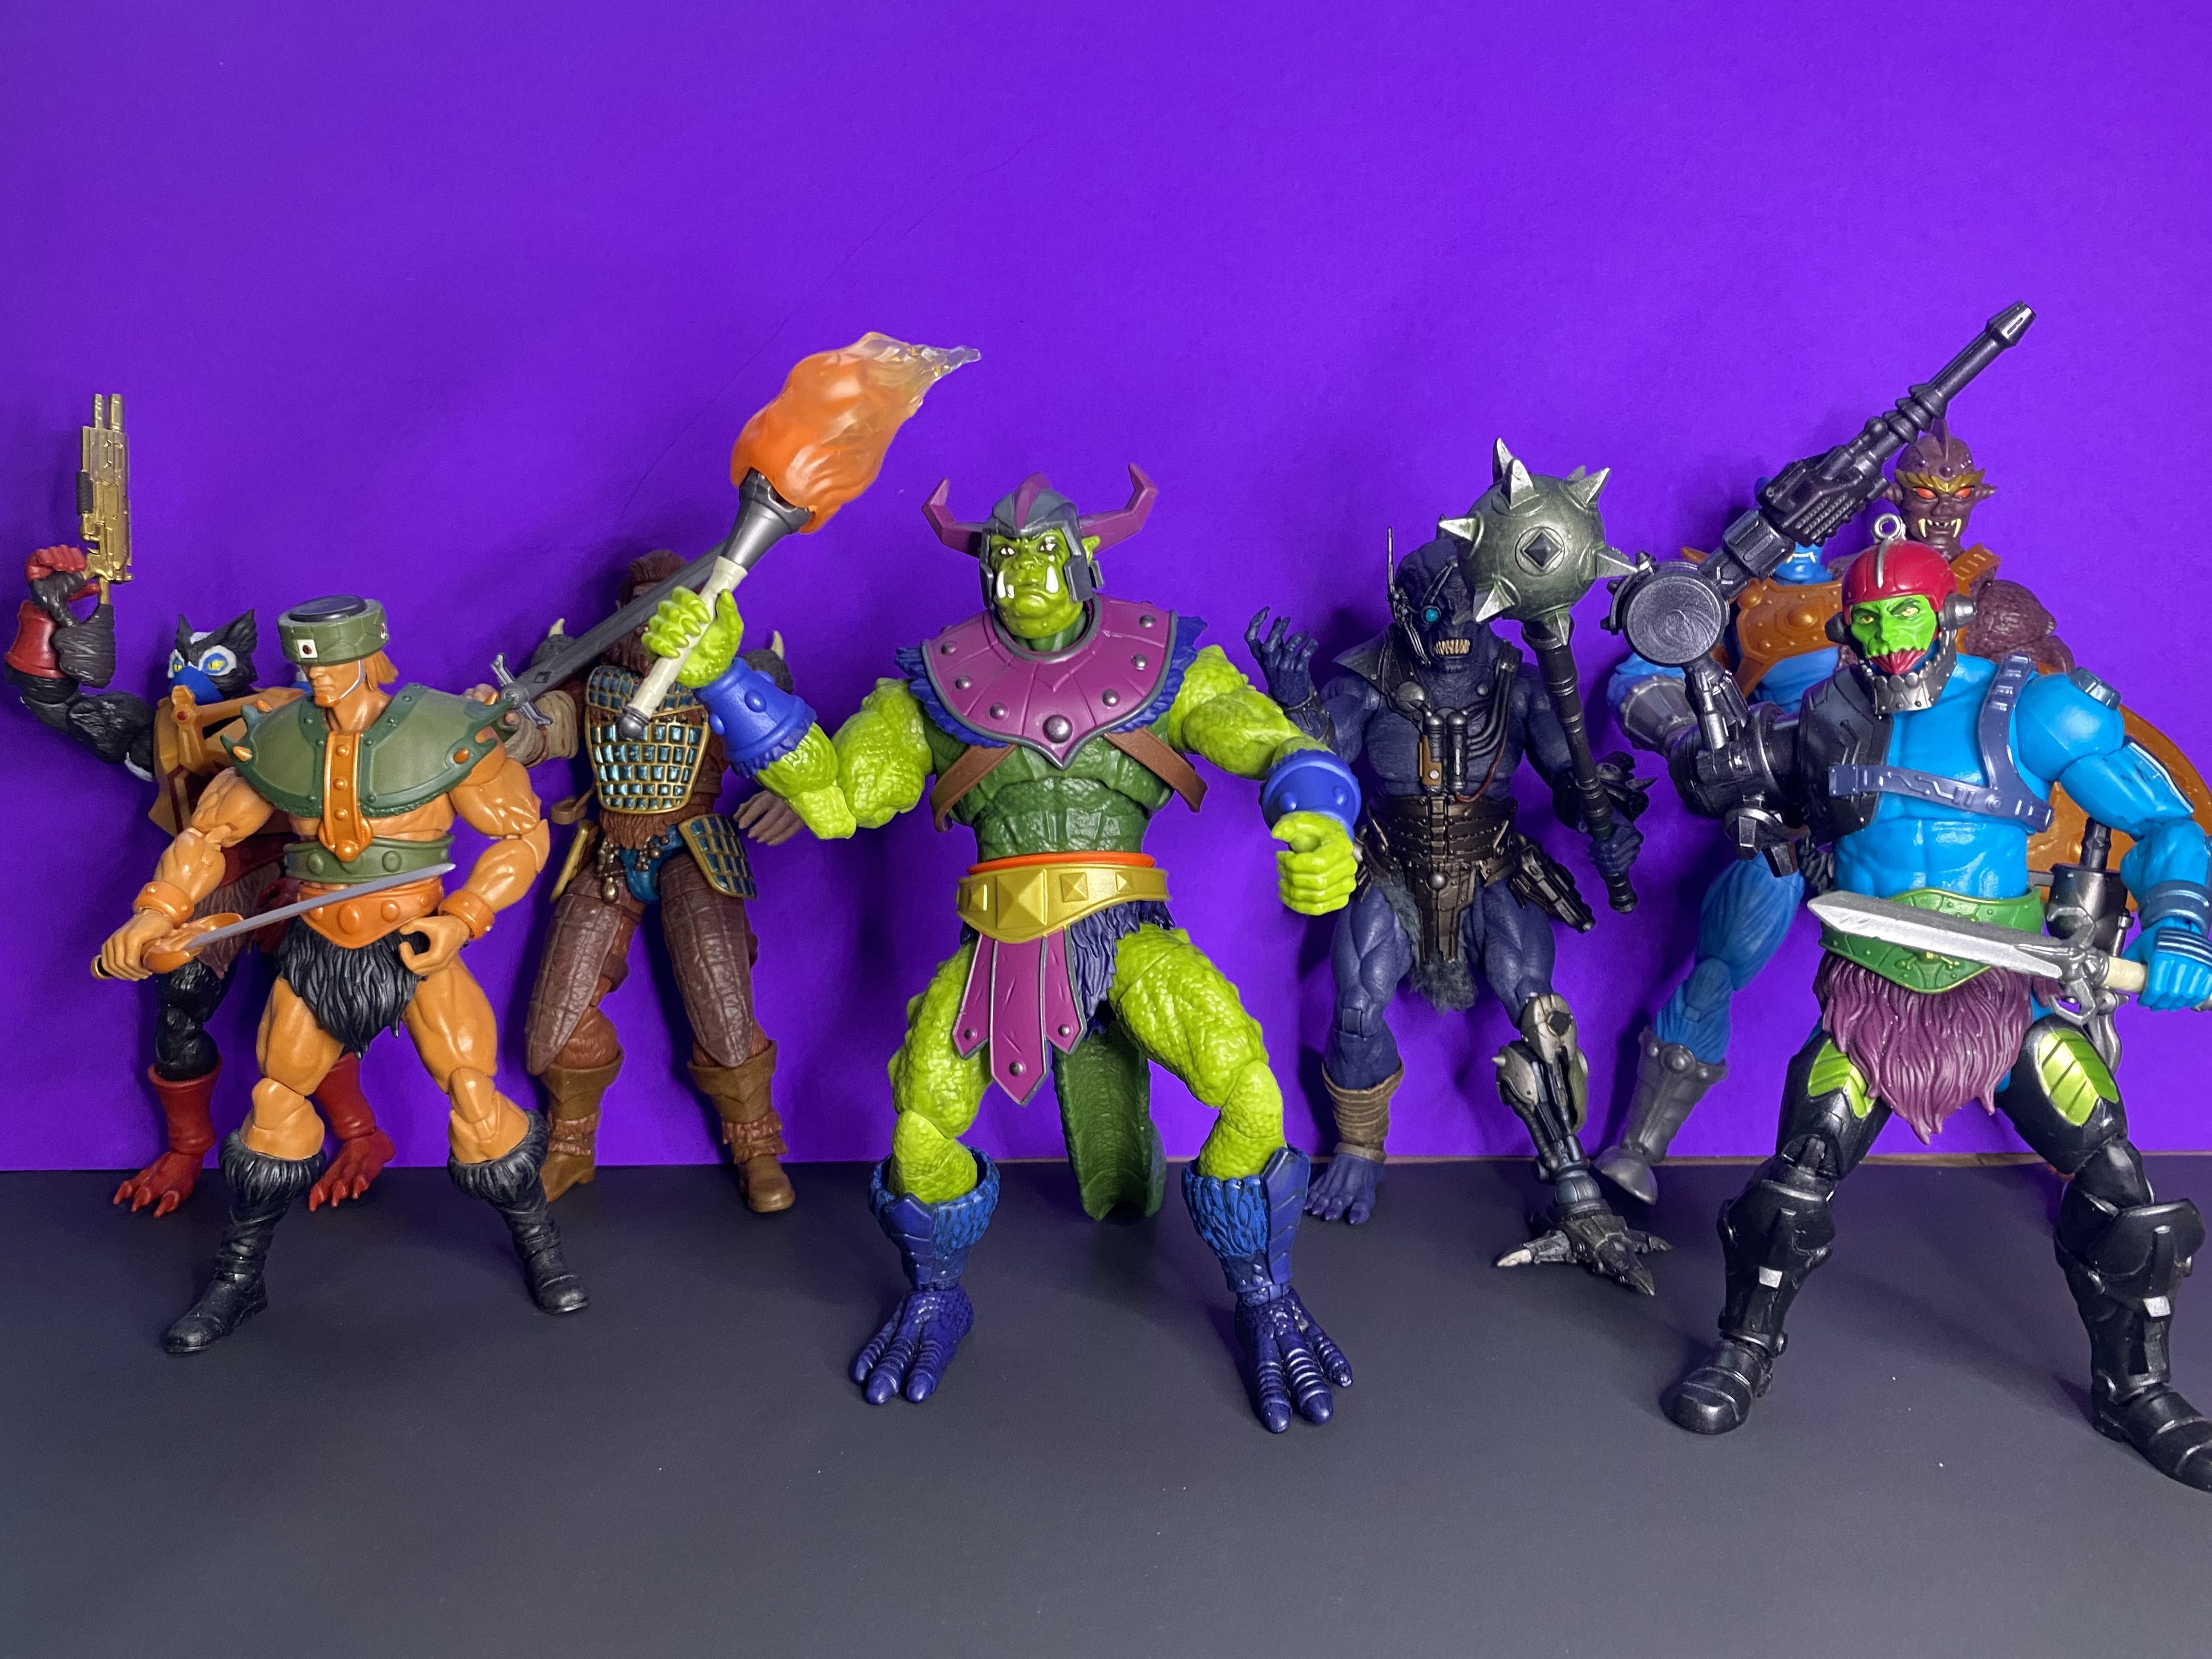
He belongs with a certain trope of characters.
SPARTANNERD RATING OF MASTERVERSE NEW ETERNIA WHIPLASH
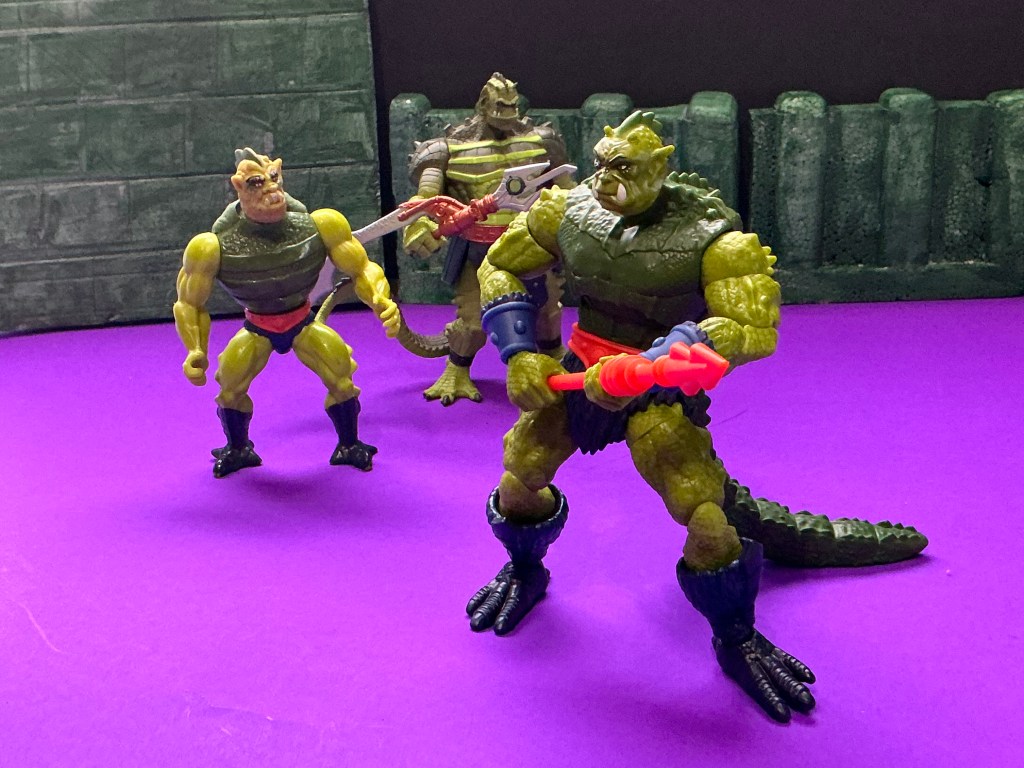
Above is my original whiplash toy. As a kid I had countless hours playing with this. So he doesn’t have a tail anymore 😦 I picked up the 200x version right before I got SSKURRGE. Whiplash gets the feels point all day because of who he is.
I don’t think he is as good as the Cosmic Legions KO version. But then we are really comparing wildly different things that are just in the same color scheme.
I am awarding MASTERVERSE New Eternia Whiplash 4/5. My logic for the lost point…his paint could be better, and his articulation is strange. I feel like the knee issue is a stupid problem especially, and one that is “baked in.”
He has been a blast to play with…way more fun than Thunder Punch He-Man or Moss Man in this same blog review. And there is a nostalgia factor that is also present that I love.
THE SPARTANNERD RATES WHIPLASH A 4/5…do you agree or disagree? Let me know in the comments!